
Windows Mail Configuration Steps:
To set up your email in Windows Mail, we recommend these steps:
-
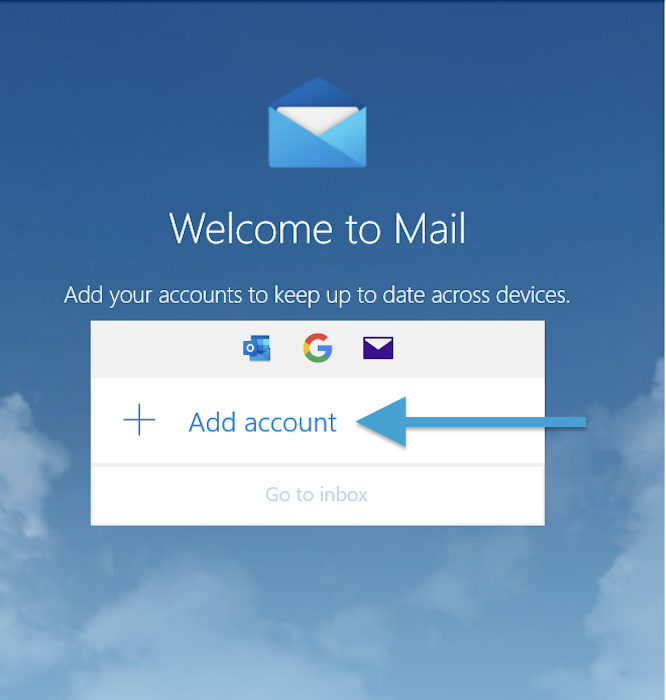
If this is the first email account you're configuring on Mail, Click Add account
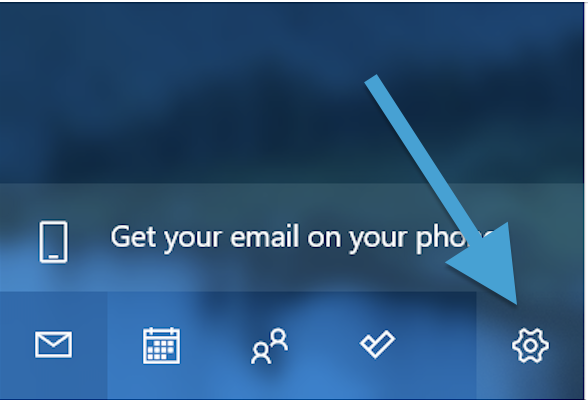
If you already have another email account configured, click the Settings icon in the bottom left hand corner.
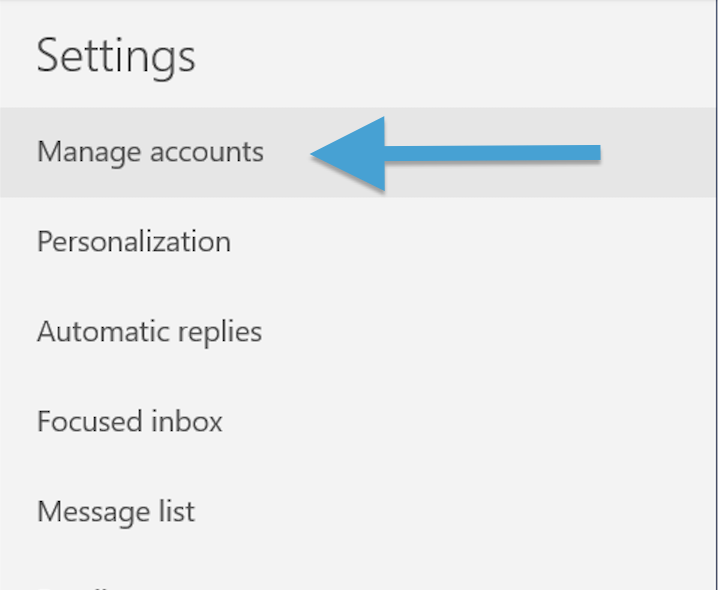
Click Manage accounts
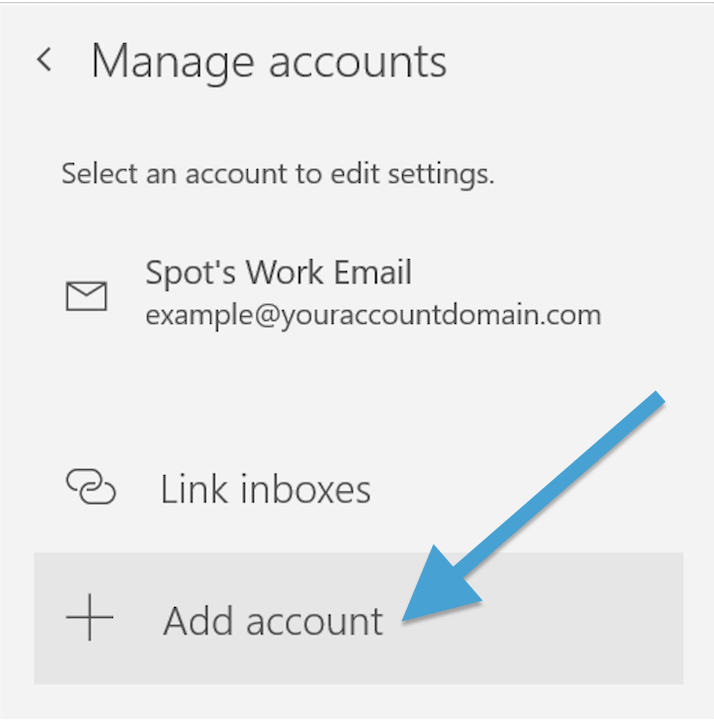
Click Add account
-
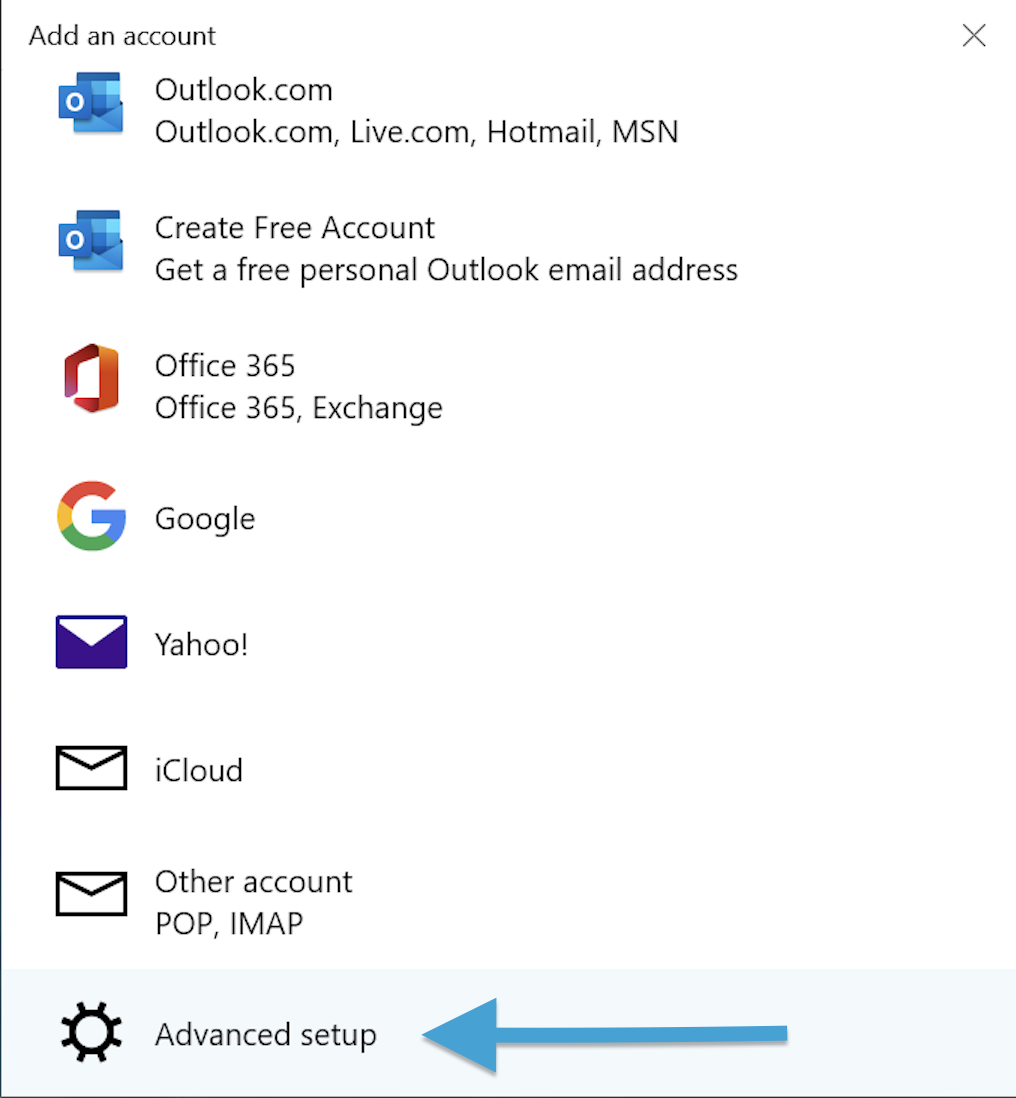
Click Advanced setup
-
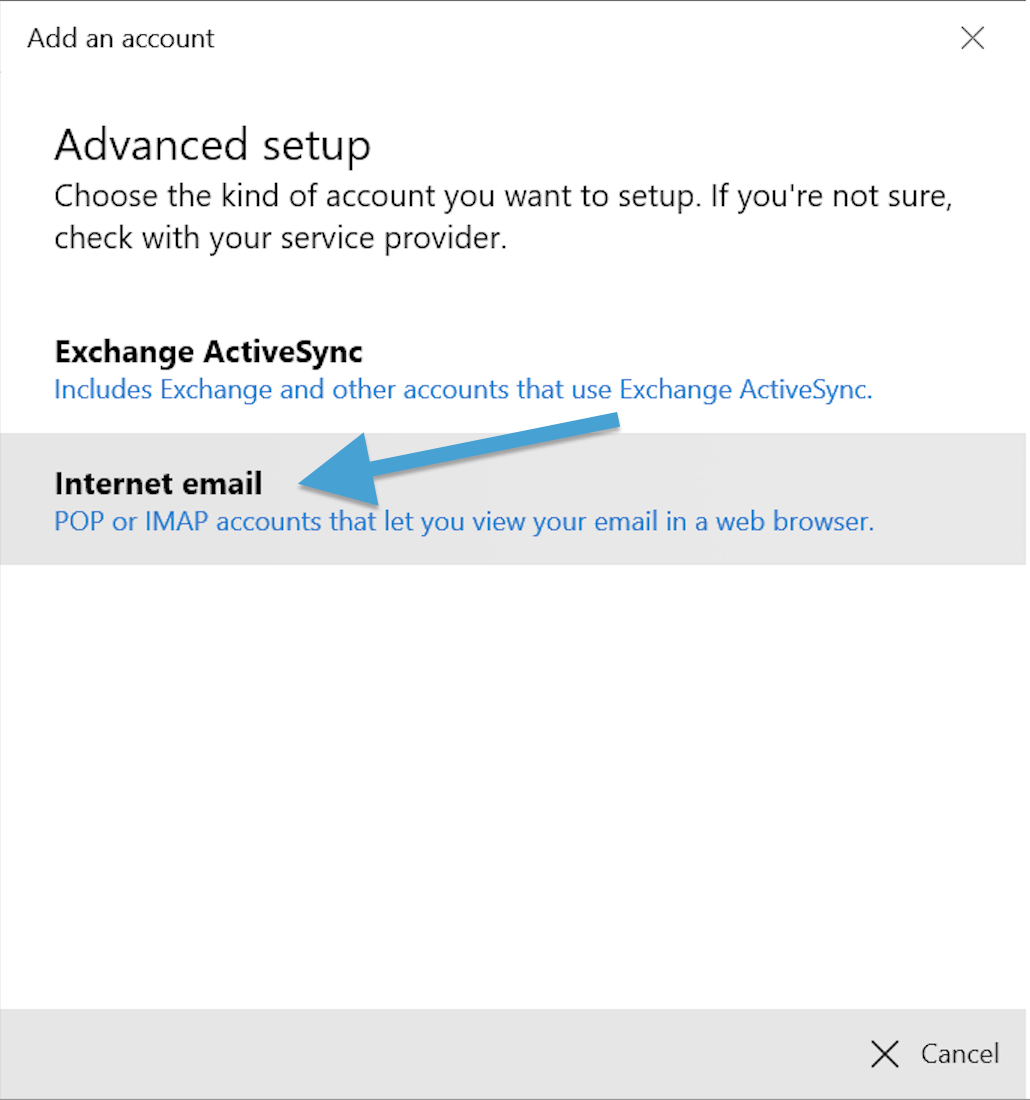
Click Internet email
-
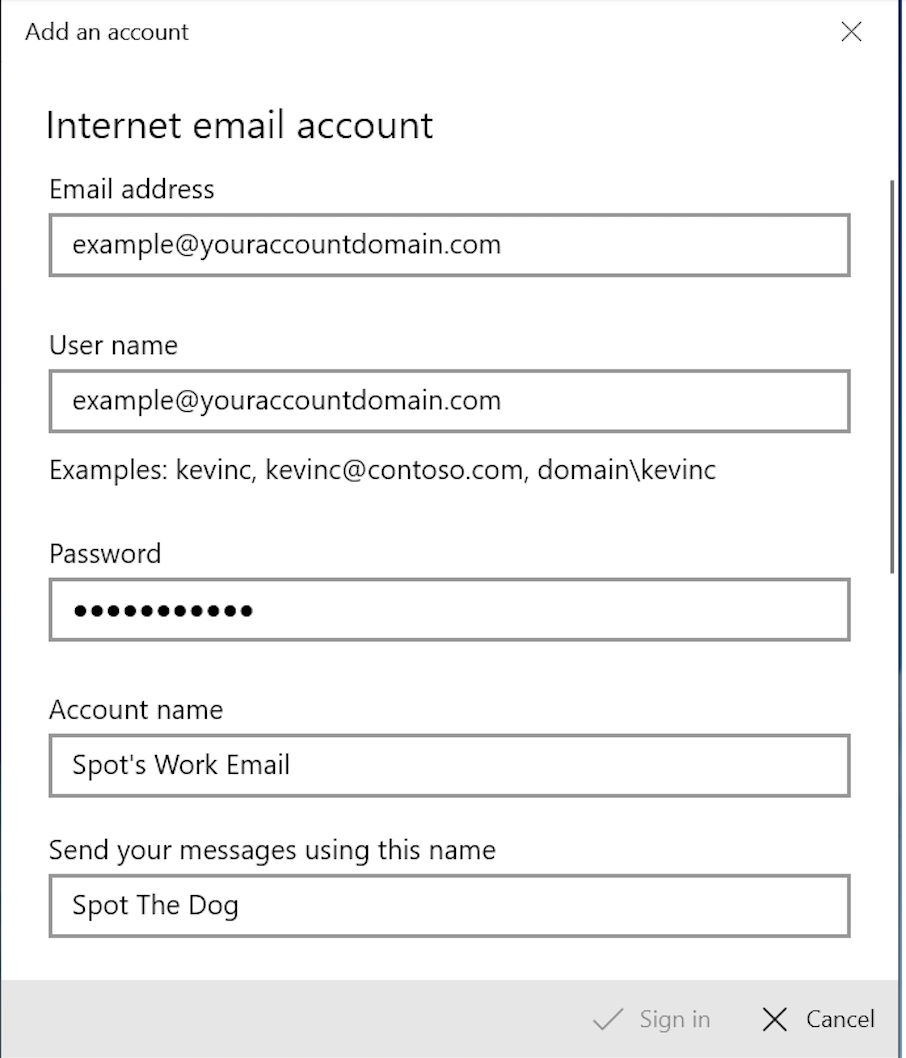
Enter the following:
(Note: this form has many fields, be sure to scroll down!)
Email Address: Enter your Email address (e.g.: example@youraccountdomain.com)
User name: Enter your complete Email address, in lowercase (example: example@youraccountdomain.com)
Password: Your case-sensitive password
Name: Enter your name, or the name you wish to display (e.g.: Spot The Dog)
Account name: Enter a description for the account, such as My Email Account, Work, or Home
Send your messages using this name: Your name, or the name you wish to display (e.g.: Spot The Dog)
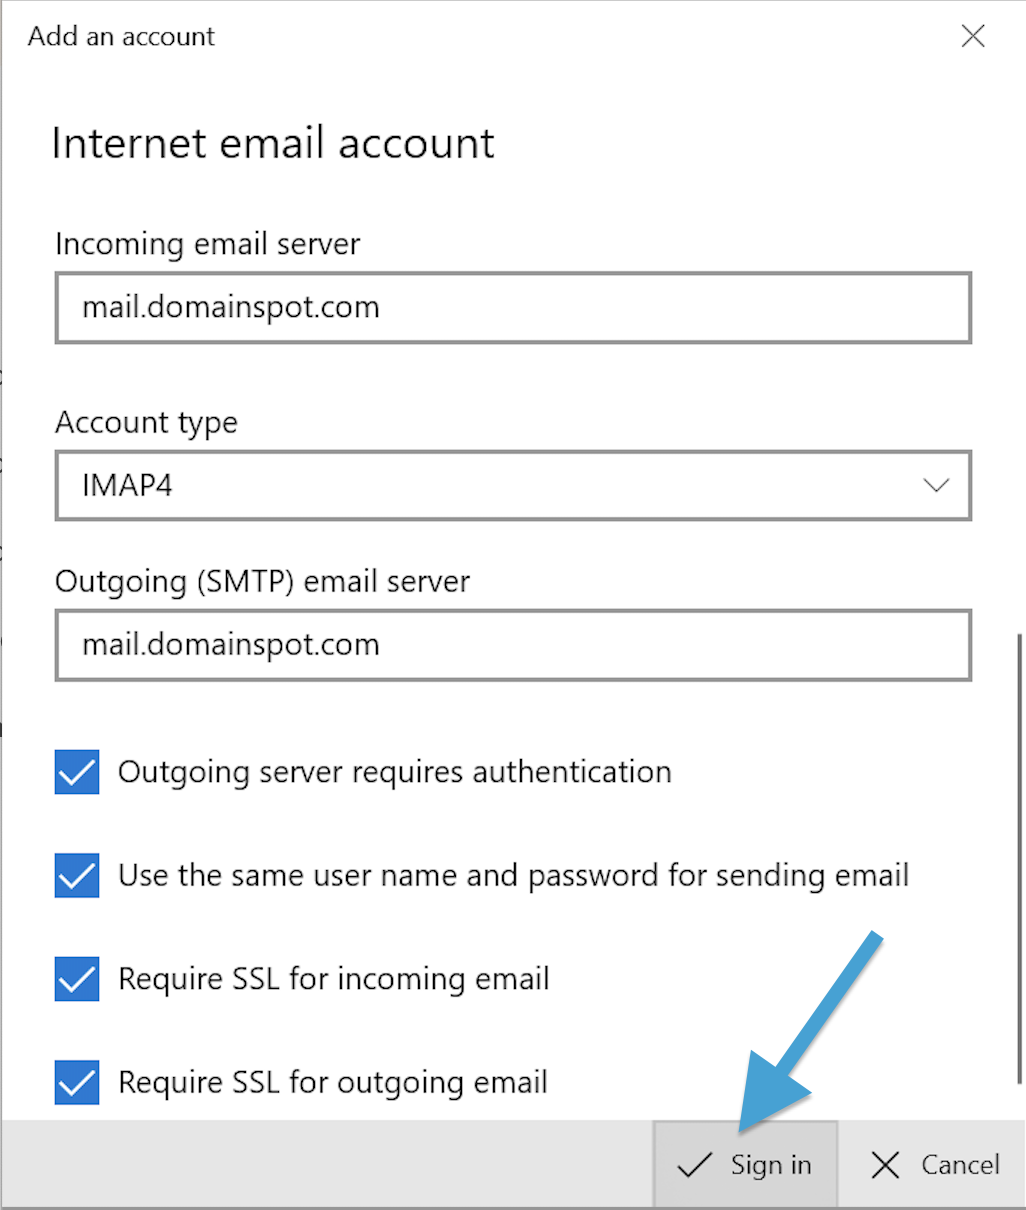
Incoming email server: mail.domainspot.com
Account type: IMAP4
Outgoing (SMTP) email server: mail.domainspot.com
Make sure all 4 options listed are checked:
✓ Outgoing server requires authentication
✓ Use the same user name and password for sending email
✓ Require SSL for incoming email
✓ Require SSL for outgoing email
Then click Sign in.
5. The sign-in should occur successfully after a few minutes.
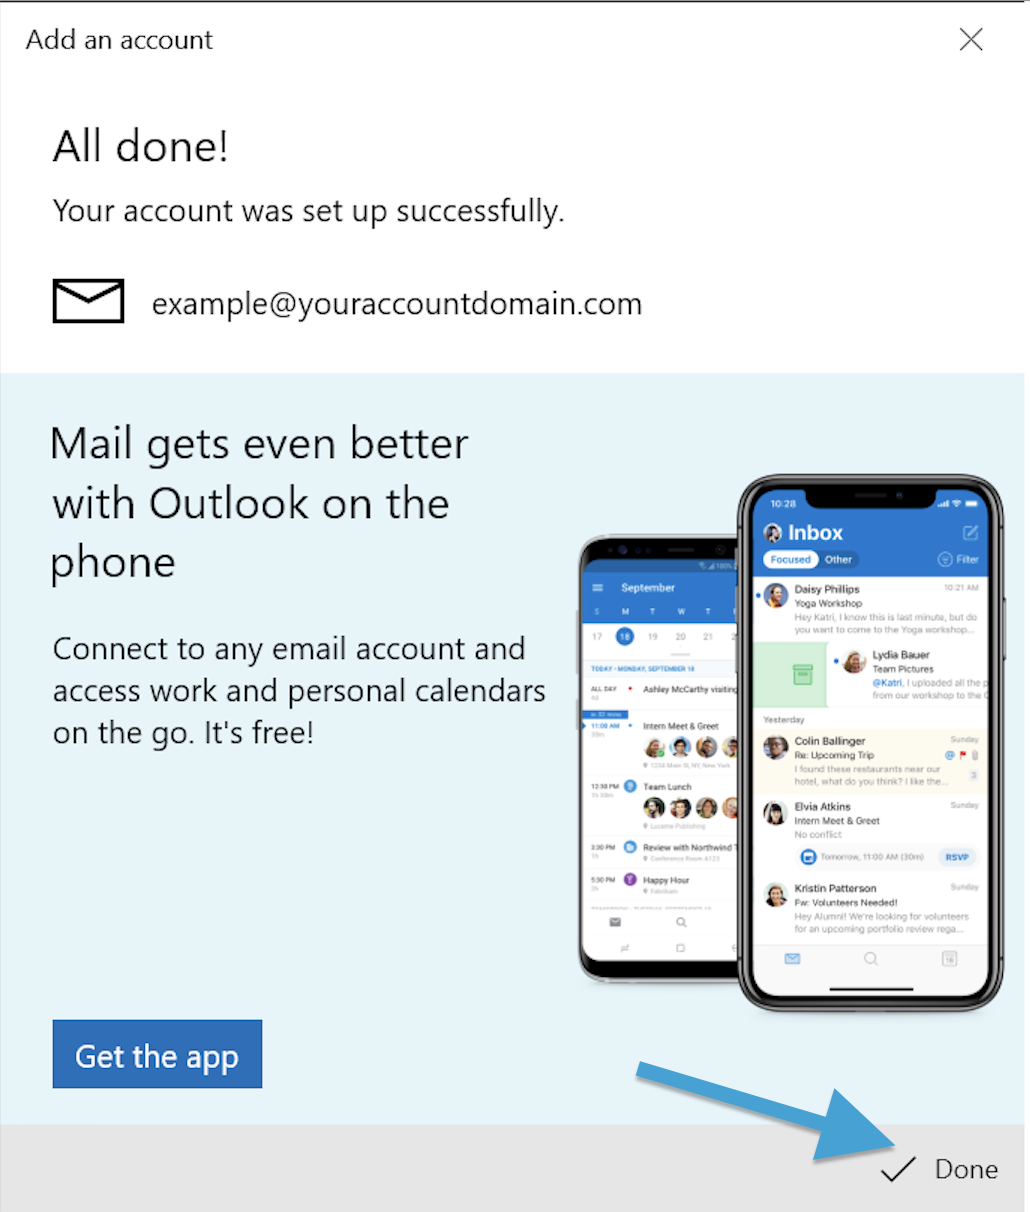
Congratulations! You deserve a round of apaws. You can now send and receive messages with your custom domain email.
Having trouble connecting?
-
Ensure your username and password are correct. Sign into webmail to verify your credentials are valid.
-
Contact support, we're here to help!
Comments
0 comments
Please sign in to leave a comment.